


How to deep clean car interiors for lasting value

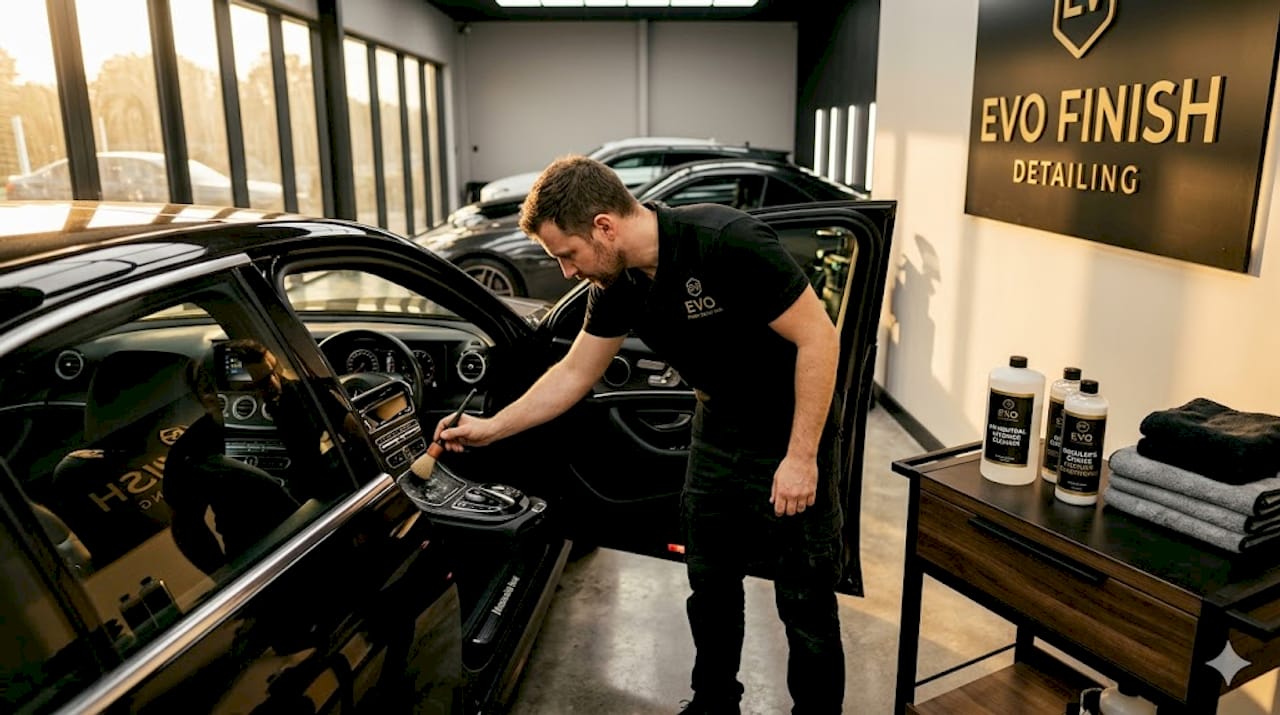
You’ve run a quick vacuum, wiped down the dash, and still your car smells musty, the carpet looks dull, and the console feels sticky. That frustration is real, and it’s more common than you think. A standard wipe-down simply can’t reach the ingrained dirt, hidden allergens, and trapped odors that build up in upholstery fibers and vents over months of use. A true interior deep clean changes all of that. Done right, it restores comfort, protects materials, and keeps your vehicle’s resale value where it belongs.
Table of Contents
Key Takeaways
Point | Details |
Use car-safe cleaners | Household products may damage car interiors, so always choose automotive-approved solutions. |
Follow step-by-step process | A systematic cleaning order prevents mistakes and ensures every area receives attention. |
Condition and protect leather | Cleaning with conditioner prevents drying and cracking, preserving the material’s look and feel. |
Assess your results | Check for visible dirt, lingering odors, and overall comfort to measure your deep clean was successful. |
Know when to call pros | For persistent problems or valuable interiors, professional detailers provide safe, lasting results. |
What is a deep clean? How often should you do it?
A deep clean is not what most people do on a Sunday afternoon. It is a thorough, methodical process that addresses every interior surface, including seats, carpets, door panels, air vents, glass, and controls. It includes stain treatment, odor removal, and surface conditioning. Compare that to regular maintenance, which typically means a quick vacuum and a wipe with a damp cloth.
Feature | Regular maintenance | Deep clean |
Seats | Light wipe or brush | Full extraction or leather clean and condition |
Carpets | Surface vacuum | Deep vacuum plus upholstery cleaner and extraction |
Vents and consoles | Ignored or lightly dusted | Compressed air and detail brushes |
Glass | Occasional spray | Full interior glass clean with streak-free product |
Odor treatment | None | Targeted deodorizing and fabric treatment |
Stains | Blotted if noticed | Treated with appropriate stain remover |
The difference in outcome is dramatic. A deep clean removes what regular cleaning leaves behind, and that matters for both comfort and vehicle condition.
How often should you do it? Deep cleaning every 3 to 6 months is the recommended cadence for most regularly used vehicles. If you drive with pets, grandkids, or food in the car, you may need to push that to every 8 to 12 weeks. For vehicles that sit more and are used lightly, twice a year may be perfectly adequate.
Here is why frequency matters:
Dust and allergens accumulate in vents and fabric over time, affecting air quality
Stains set deeper the longer they sit, making them harder and more expensive to remove
Leather that is not conditioned regularly dries out and cracks
Odors from food, pets, or moisture become more difficult to eliminate the longer they are left untreated
Interior materials degrade faster without regular cleaning and protection
A well-maintained interior is one of the first things a buyer notices. Neglecting it for years and then trying to recover the damage before a sale is far more costly than routine upkeep.
Now that you know the impact of a true deep clean, let’s look at what tools and supplies you’ll need to do it right.
What you need: Essential tools and materials
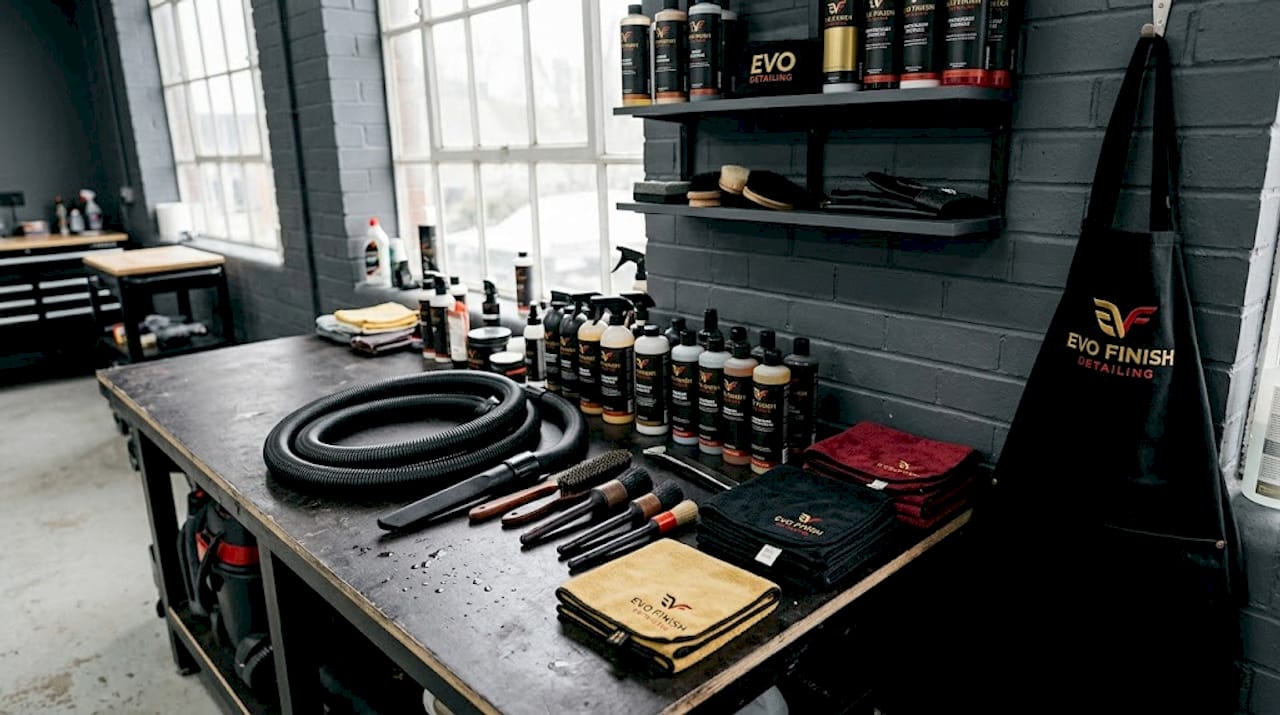
Before you touch a surface, you need the right supplies. Using the wrong product is one of the most common and costly mistakes car owners make. Automotive-safe interior cleaners are specifically formulated to avoid damaging plastics, electronics, leather, and fabric. Household cleaners, including all-purpose sprays, glass cleaners with ammonia, and bleach-based products, can strip leather, cloud plastics, and permanently damage touchscreens.
Essential tools and materials checklist:
Vacuum cleaner with a crevice tool and upholstery attachment
Compressed air canister or electric air duster
Automotive-approved interior cleaner (safe for plastics and vinyl)
Dedicated leather or vinyl cleaner and conditioner
Fabric and upholstery cleaner for cloth seats and carpets
Stain remover formulated for automotive use
Streak-free automotive glass cleaner (ammonia-free)
Microfiber cloths in multiple sizes (at least 4 to 6)
Detail brushes in various sizes for vents, seams, and crevices
Foam applicator pads for conditioners and protectants
A bucket of warm water for rinsing cloths
Surface type | Recommended product | What to avoid |
Leather seats | pH-neutral leather cleaner plus conditioner | Harsh degreasers, baby wipes, bleach |
Fabric/cloth seats | Automotive upholstery shampoo or foam cleaner | Dish soap, excess water, laundry detergent |
Plastic dash/console | Interior detailer spray or all-purpose car cleaner | Silicone-based dressings that cause glare |
Touchscreens/displays | Dry or slightly damp microfiber only | Any liquid spray directly on screen |
Glass (windows) | Ammonia-free automotive glass cleaner | Windex with ammonia, paper towels |
Wood or piano black trim | Gentle interior cleaner and dry microfiber | Abrasive cloths or gritty cleaners |
Pro Tip: Always test any new cleaning product on a small, hidden area first. Some plastics and fabric dyes react poorly to certain cleaners, and finding out on a visible surface is a costly lesson.
With your tools gathered, it’s time to roll up your sleeves and get started.
Step-by-step process: Deep cleaning interiors like a pro
A systematic approach is what separates a true deep clean from a random scrub. Working in the right order prevents you from re-contaminating surfaces you have already cleaned and helps you stay thorough throughout.
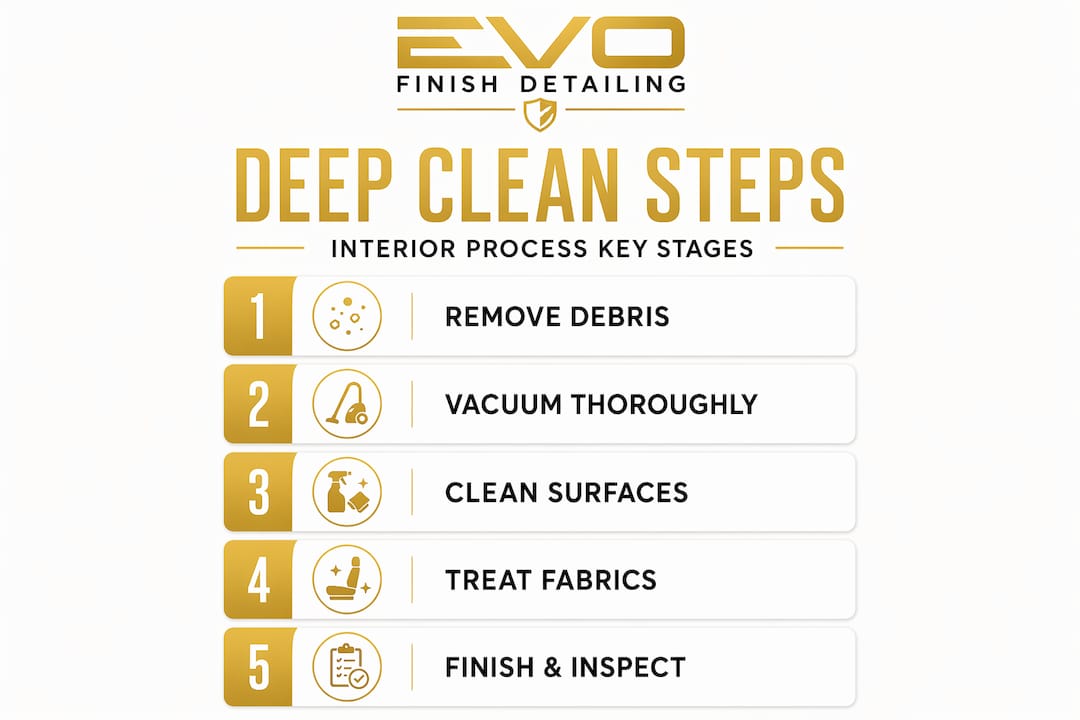
Declutter completely. Remove everything from the vehicle, including items in the door pockets, console, glove box, and under the seats. You cannot clean what you cannot reach.
Vacuum the entire interior. Start from the top and work down. Use the crevice tool on seat seams, under the seat rails, and around the console. Get into every fold and gap. Do not skip the trunk or cargo area.
Use compressed air on vents and tight gaps. Blast dust out of air vents, speaker grilles, and button clusters before wiping. This loosens what the vacuum cannot reach.
Clean fabric seats and carpets. Remove loose debris first, then apply upholstery or carpet cleaner using a brush to work it into the fibers. Blot or extract moisture thoroughly to prevent over-wetting. Excessive moisture leads to mold and lingering odors, two problems that are far worse than the original stain.
Deep clean leather seats. Apply a leather-specific cleaner with a soft brush or cloth, working in small sections. After cleaning, wipe off residue and apply a conditioner to restore moisture and prevent cracking. Never soak leather.
Wipe all hard surfaces. Use your interior cleaner on the dashboard, door panels, center console, cup holders, and steering wheel. Use a detail brush to get into button gaps and textured plastics. Dry with a clean microfiber cloth.
Address stains and odors. Treat any remaining stains with a targeted stain remover. For odors, use an automotive fabric deodorizer and allow it to fully dry. Consider a dedicated interior reset detail steps approach if you want a truly thorough result.
Clean glass last. Spray your ammonia-free glass cleaner on a microfiber cloth (never directly on the glass) and wipe all interior windows and the rearview mirror. Cleaning glass last avoids overspray from earlier steps contaminating the glass.
Dry thoroughly and ventilate. Leave doors or windows open for 15 to 30 minutes to allow everything to dry completely before closing the vehicle.
Pro Tip: For cleaning fabric seats and carpets, a wet/dry shop vacuum used after applying cleaner dramatically improves extraction results compared to blotting alone.
Quick checklist to verify as you go:
Look: No visible dust, dirt, or smears on any surface
Sniff: No musty, food, or chemical odors remaining
Feel: Seats and carpets feel clean and dry, no sticky controls or greasy dash
Following a solid process reduces the risk of missed spots or accidental damage. But how do you troubleshoot issues and avoid the most common pitfalls?
Troubleshooting: Common mistakes and smart solutions
Even careful car owners make mistakes during a deep clean. Knowing what to watch for keeps your interior safe and gets you better results.
Most common DIY mistakes:
Using household glass cleaner with ammonia on tinted windows or touchscreens (causes permanent damage)
Over-saturating cloth seats or carpets with water or cleaner (promotes mold growth inside padding)
Forgetting to check under seats (loose trash, crumbs, and even moisture hide there)
Using silicone-based dressings on the dash that create glare and attract more dust
Spraying cleaner directly onto infotainment screens instead of onto the cloth first
Skipping the conditioning step after cleaning leather (leads to drying and cracking within weeks)
For hard-to-reach areas like vents and cup holders, use narrow detail brushes and compressed air to dislodge debris before wiping. Clean glass last to avoid overspray from earlier steps leaving residue.
If you discover sticky or greasy residue on controls after cleaning, the likely cause is a silicone-based product. Wipe the area with a slightly damp microfiber cloth and follow with a dry cloth. Avoid re-applying the product.
Pro Tip: For persistent odors that do not respond to fabric sprays, check for hidden moisture sources. A wet floor mat from a leaking door seal can generate mold inside the carpet padding, and no amount of surface spray will fix that.
When to call a professional: Booking professional detailers makes the most sense when you are dealing with smoke damage, pet urine, mold, water intrusion, or luxury materials like suede, Alcantara, or wood trim. Professionals have hot water extraction equipment, ozone treatments, and specialized formulas that are not available at retail.
With the biggest obstacles out of the way, let’s focus on how you know your efforts were worthwhile and when professional help might be a better investment.
Measuring results and boosting resale value
After a thorough deep clean, the difference should be clear, but it is worth going through a structured check to confirm everything was addressed before closing the doors and calling it done.
Post-clean verification checklist:
No visible dirt, dust, or film on any surface, including the lower door panels
All glass is streak-free and clear
Controls and buttons feel clean, with no stickiness or residue
Carpets and mats are even in color and texture with no damp spots
Upholstery shows no stains and has no odor when you put your face close to the fabric
Vents look clean and produce no musty smell when the fan runs
Leather feels soft and supple, not dry or waxy
Why buyers notice interior condition more than most sellers expect. Buyers evaluate cabin condition as a direct indicator of how well the entire car was maintained. A stained seat or a dashboard covered in dust signals neglect, even when the engine is mechanically perfect.
Interior condition | Buyer perception | Impact on resale |
Stained seats, odors, dirty carpet | Poor maintenance overall | Price reduction of hundreds to thousands |
Clean but not detailed | Average care | Typical market value |
Deep cleaned and protected | Well-maintained, move-in ready | Stronger negotiating position, faster sale |
The difference between a neglected and a deeply cleaned interior can directly influence trade-in and private sale outcomes. Regular deep cleaning every few months costs far less than the value you could lose at resale.
Understanding these benefits makes it easier to decide when DIY makes sense and when calling in the pros is best.
A professional’s take: When to clean, when to call the pros
We have seen thousands of interiors in all conditions, and here is what most guides won’t tell you directly. DIY deep cleaning works well for routine maintenance. But it has real limitations when you are dealing with materials or contamination levels that require professional equipment and training.
DIY is a solid choice for regular upkeep, but professionals bring faster results and more thorough equipment, especially for high-value materials like touchscreens, leather, or severely contaminated interiors. If your vehicle has smoke odor embedded in the headliner, pet urine in the carpet padding, or a luxury material like Alcantara that reacts to the wrong product, the cost of getting it wrong almost always exceeds the cost of hiring someone who does this every day.
What we see most often is this: car owners wait too long between cleanings, then try to fix months of accumulated damage in a single session. That approach leads to over-wetting, wrong products, and frustration. The smarter strategy is consistent, lighter maintenance every few weeks paired with a professional-level deep clean every three to six months.
Routine upkeep is not optional if you want to preserve both comfort and value. And for vehicles with premium interiors or above-average odor or stain issues, the risk-reward equation consistently favors professional work. You can see deep cleaning packages that fit different needs and budgets, so the investment is always proportional to the vehicle and the result you want.
Let Evo Finish make interiors like new again
A thorough deep clean produces results that go well beyond what most car owners can achieve on their own. When stains won’t lift, odors keep returning, or you simply want a flawless, showroom-level finish with guaranteed satisfaction, professional precision detailing delivers what DIY cannot.
At Evo Finish, we provide meticulous interior detailing packages tailored to your vehicle’s specific needs, materials, and condition. Whether you need a complete professional interior reset detail or targeted treatment for specific problem areas, we use automotive-safe products and proven techniques for lasting results. Ready for a pristine interior and lasting protection for your vehicle’s value? Book an interior reset with us today. WE COME TO YOU. GUARANTEED SATISFACTION.
Frequently asked questions
Can I use household cleaners for my car’s interior?
No. Household cleaners damage car surfaces and electronics, so always use automotive-safe products specifically formulated for interior surfaces.
How do I safely clean leather seats?
Use a gentle leather-specific cleaner applied with a soft cloth, avoid soaking the material, and always follow with a conditioner. Conditioning after cleaning prevents drying and cracking over time.
How can I remove persistent odors from car carpets?
Vacuum thoroughly, apply an automotive-approved upholstery cleaner, blot excess moisture, and allow full drying time with ventilation. Remove loose debris first before applying any cleaner, and for tough odors, professional hot water extraction is the most effective solution.
Is it better to clean glass or screens first or last?
Always clean all other interior surfaces first and clean glass last to prevent overspray from earlier steps leaving streaks or residue on windows and displays.
How do I know if I need professional detailing instead?
If you are dealing with severe odors, persistent stains, water damage, or delicate materials, professional detailers have the equipment and expertise to achieve better results with less risk than DIY methods.
Recommended
Comments